Hexo博客搭建教程,参考CodeSheep大佬的视频教程。主要是记录Hexo博客搭建和部署的步骤流程,方便更加快速的配置部署。
1.下载安装node.js
安装完成后,查看版本npm -vnode -v
2.换阿里的源
npm install -g cnpm --registry=https://registry.npm.taobao.org
完成cnpm的安装,查看版本cnpm -v
3.安装hexo博客框架
cnpm install -g hexo-cli 最好不要用,替换为npm install来根据package-lock.json中的配置来安装环境
-g 全局安装
-v 查看版本
4.新建一个hexo博客
- 新建文件夹Blog(任意一个名字)
- 在该目录下打开终端输入
hexo init完成博客初始化生成
5.在本地启动博客
hexo server or hexo s
问题
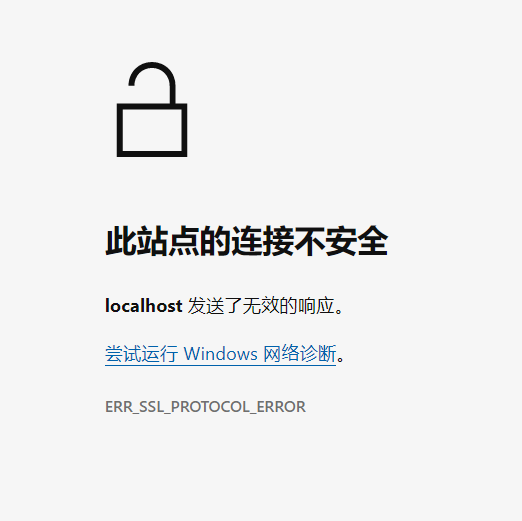
hexo s后无报错,但是打开本地端口后网页出现错误,显示此站点的连接不安全

注意:是在http://localhost:4000/ 上进行,而不是https
我的默认浏览器时Edge,但是Edge会自动将http转换成https,导致无法在本地查看Hexo博客,换成Chrome后可以解决。
6.新建博客文章
hexo n "文章题目"
写完一篇文章后
- 清理一下
hexo clean - 重新生成
hexo g
7.部署到github上
7.1 在github上新建一个仓库
仓库名字:用户名.github.io
7.2 在Blog文件夹下安装deployer
cnpm install --save hexo-deployer-git
7.3 在Blog文件夹下打开_config.yml文件
1 | # Deployment |
7.4 然后将Blog部署到github中
hexo d
Last
使用Hexo博客方法
在写完文章后:
hexo clean清除hexo g生成hexo s在本地预览,在http://localhost:4000/ 中查看hexo d推到github上,在Hexo (yq010105.github.io)中查看
Other
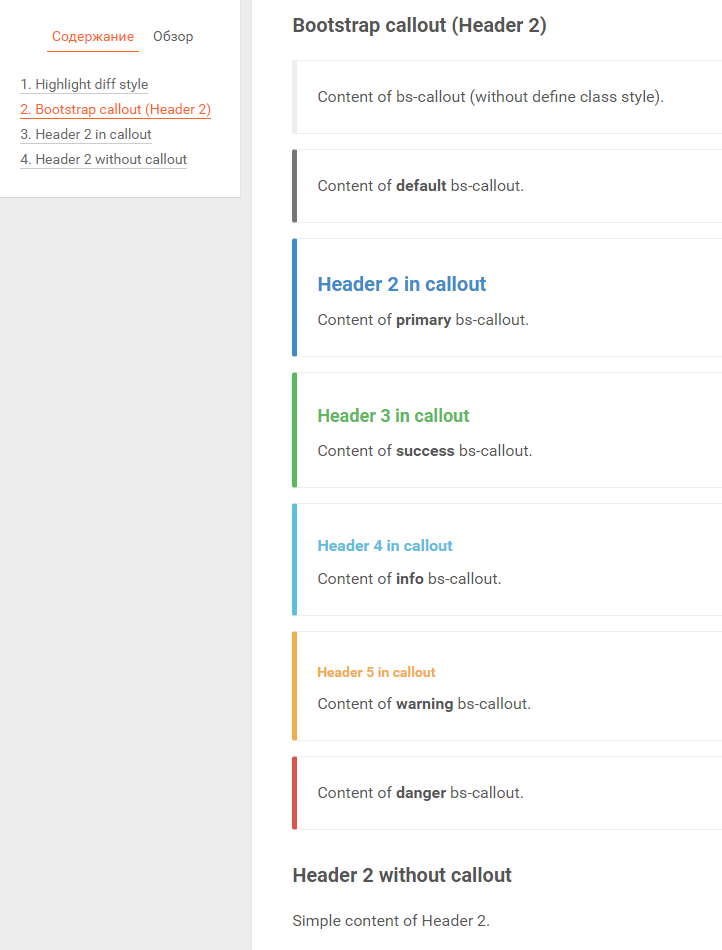
Next主题内置标签 Callout
{% note class_name %} Content (md partial supported) {% endnote %}
其中,class_name 可以是以下列表中的一个值:
- default
- primary
- success
- info
- warning
- danger

default
primary
success
info
warning
danger